NAS – Part 1: Design and Enclosure
Overview
I love to tinker with things — mostly computers. As anyone who tinkers knows, sometimes you break things… and sometimes you break things badly and lose data. Very important data, like your wedding photos.
Yes, you read that correctly: I lost all my wedding photos.
This happened while moving from Linux to Windows without backing things up properly. Yeah, I know — pretty stupid. 😄
Thankfully, after some more tinkering and running recovery software for a few days, I managed to recover everything.
This experience came with a few important takeaways:
Encryption matters I was able to recover data that had been deleted years earlier across different operating systems. Data tends to linger on disks far longer than you expect.
Backup, backup, and then back up again I did have an independent backup on an external hard drive — and still lost data. Something odd happened where it seems the backup didn’t recursively copy all files within folders. 😱
Don’t leave backup drives attached to a tinker PC Which naturally leads to the idea of building a proper NAS to house all the drives safely.
And that’s exactly what this series is about.
3D Modeling
I have access to a 3D printer, which makes it perfect for creating a custom enclosure.
I worked with SolidWorks about ten years ago doing some basic sheet metal work, but never really picked it up again. That said, CAD modeling is a genuinely useful skill — any engineer should be comfortable with at least the basics. It’s a bit like an electronics engineer ignoring software: doable, but life gets easier when you understand both.
After looking around at various CAD packages (most of which are paid), I settled on FreeCAD. It’s free, open source, and while it has its quirks — including the occasional random crash — it’s surprisingly capable.
A few YouTube tutorials later, and I was ready to start modeling.
NAS Enclosure Design
Most NAS enclosures are just cubes. That makes sense — everything inside them is basically a cube — but it’s also a bit boring.
I decided to try something different. The NAS enclosure will consist of three distinct sections:
Core
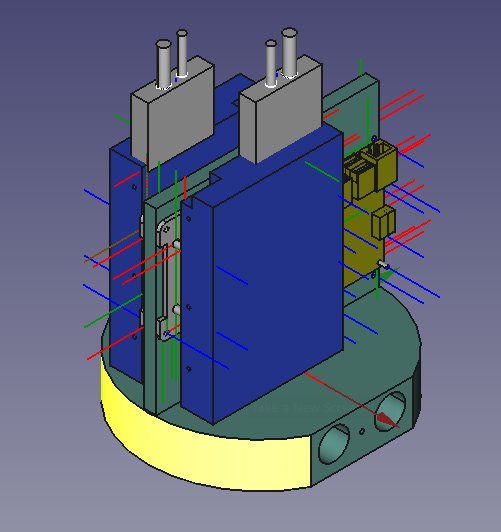
The core section houses all the functional components:
- 2 × HDDs These will most likely be configured in a RAID 1 setup using the now-stable ZFS filesystem.
- Raspberry Pi controller Likely running Ubuntu Server or Arch (haven’t decided yet).
- SATA-to-USB converters Used to connect internal HDDs via USB.
Inner
On top of the core sits the Inner section, which contains a set of addressable LEDs.
The idea here is simple but fun: by observing LED patterns, you should be able to tell whether the NAS is idle, uploading, or downloading data.
Completely unnecessary? Absolutely. Cool? Definitely.
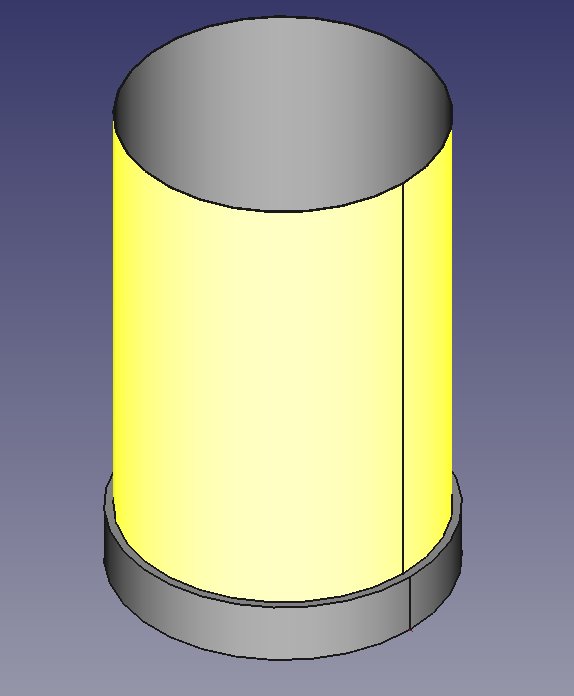
Shell
Finally, everything will be wrapped in a shell that diffuses and protects the LEDs. 💡
This outer layer completes the enclosure and gives the NAS its final visual identity.